I haven’t put much thought into writing posts about our home improvement projects before, but I’ve noticed that when I share snippets of them on Instagram I tend to get questions and comments. We recently finished our primary bathroom upgrade, so I thought I’d take the opportunity to share it here, with added detail. Let me know if you’d like to read more in-depth home projects here, or if I should stick to Instagram stories.
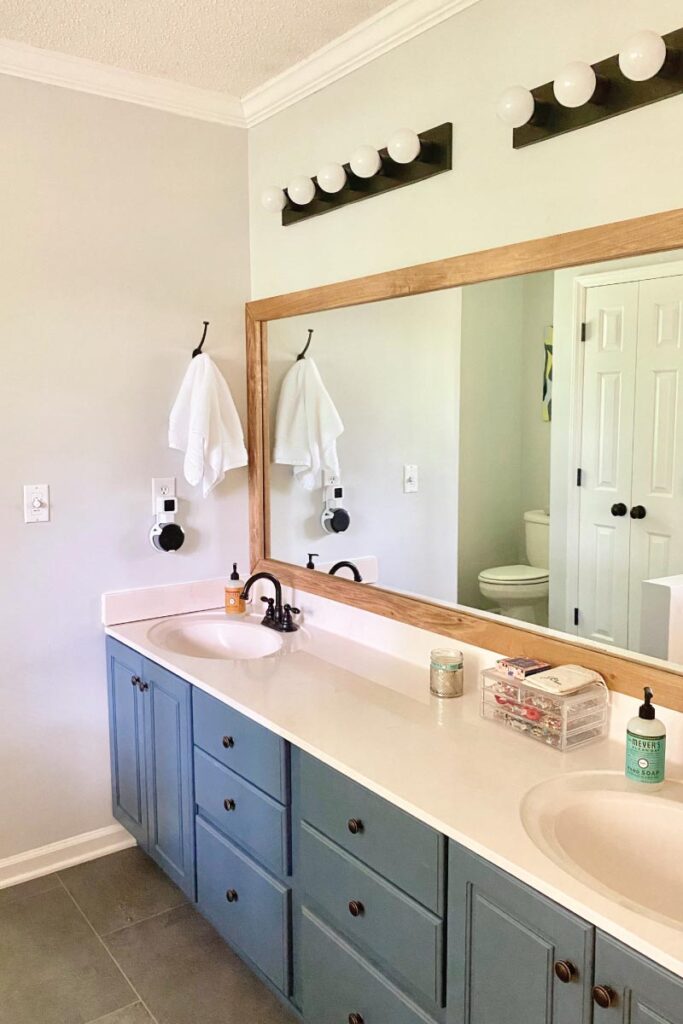
Project planning
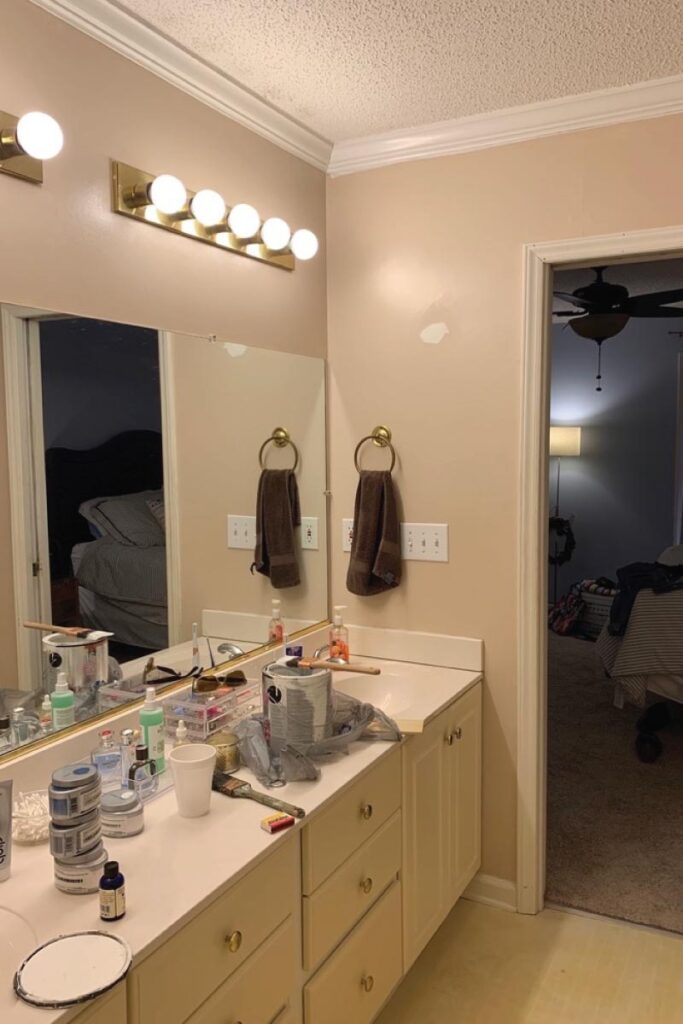
We bought our home at the beginning of 2017. My parents owned it for 14 years prior. They never updated the master bath, and graciously spent their time and resources improving areas of the house we all shared. As a result, the bathroom was very dated. With a limited budget, a true renovation was out of the question for now. With that in mind, we set the following upgrade plan:
Items that must be updated
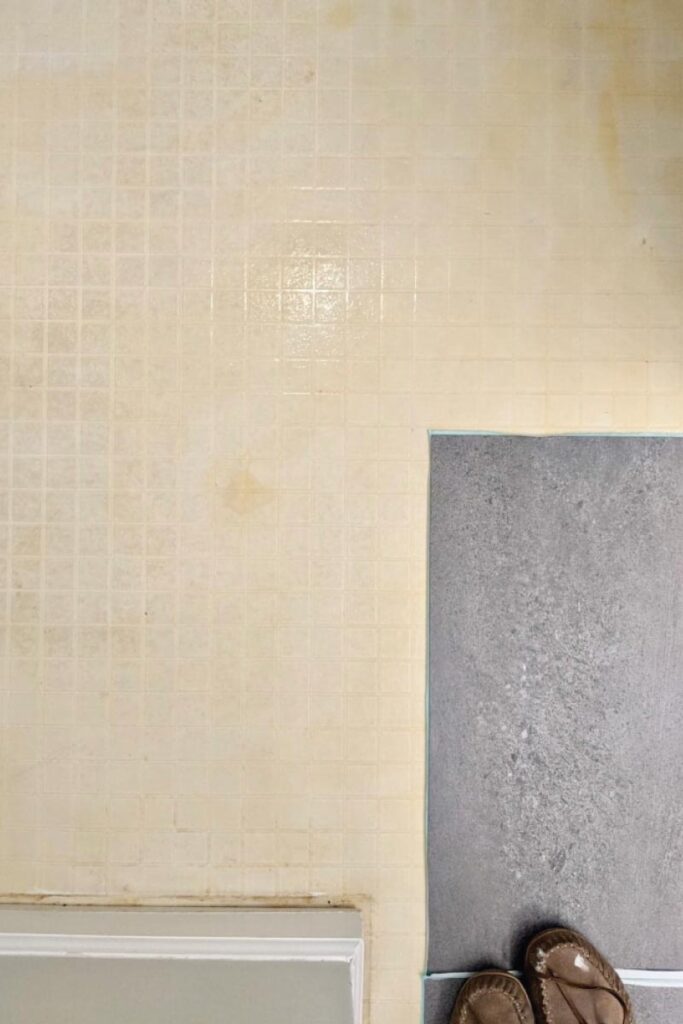
- Floor – The yellowed vinyl floor had to go. Now that it’s gone, I can’t believe we lived with it for so long.
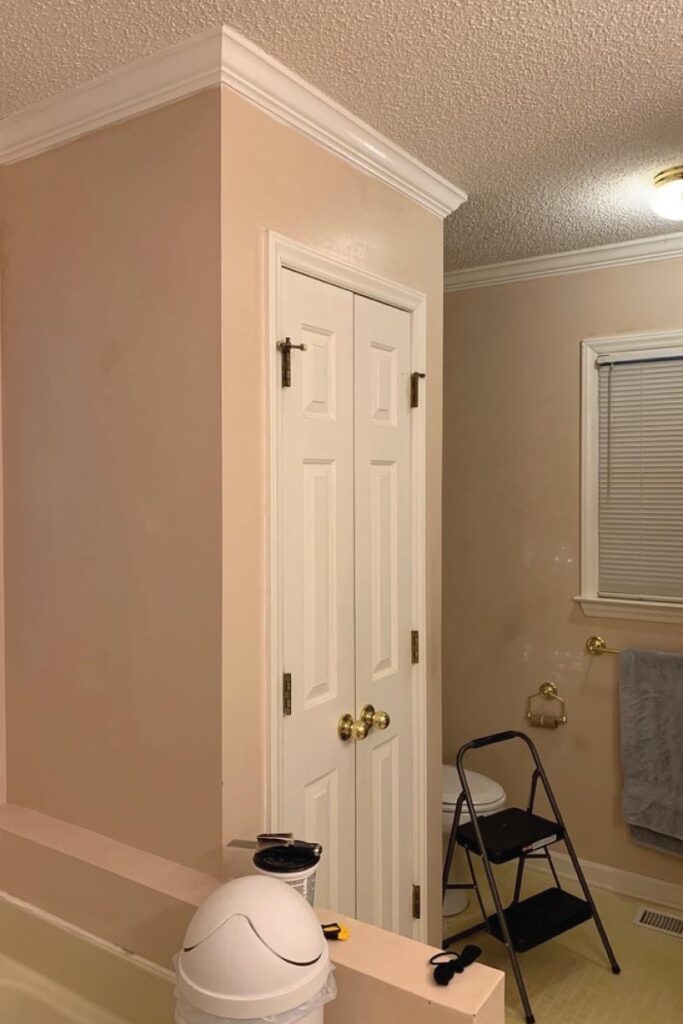
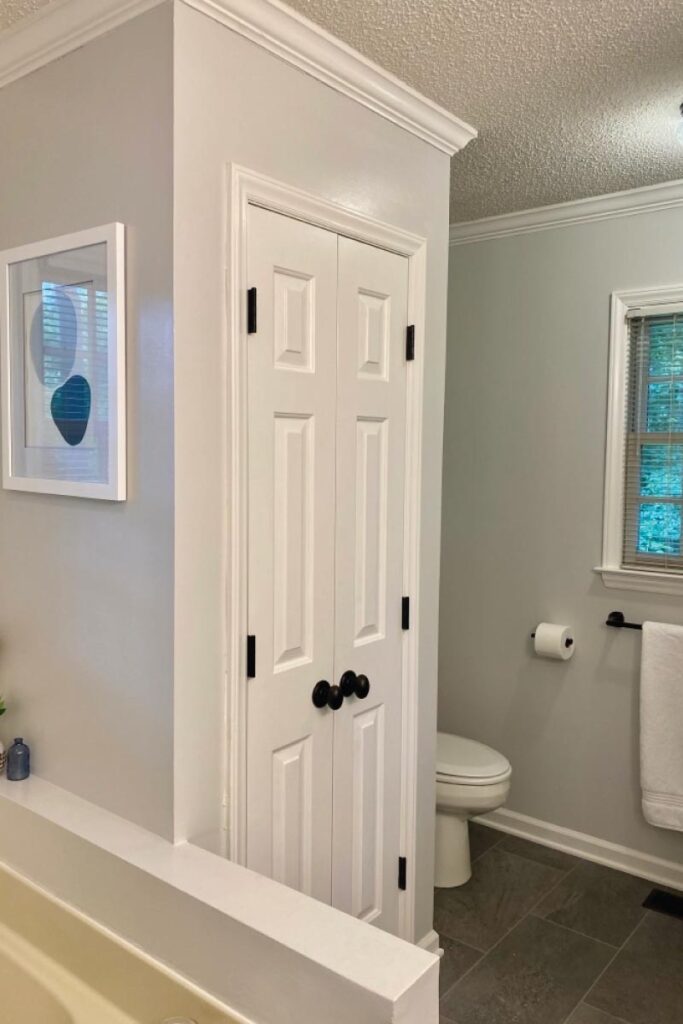
- Paint – We painted the walls, trim, pocket door, linen closet + closet doors, and the vanity.
- Fixtures – The bathroom had a mix of chrome and gold fixtures. We couldn’t replace the gold-framed shower doors (more on that below), so we needed to make choices that wouldn’t clash with the shower.
- Jetted garden tub – We would have loved to tear this out, but decided to keep it to cut costs. We needed to turn it on (for the first time in over a decade) and make sure it would run, and then deep clean it. This was the biggest challenge of the entire project.
UPDATES WE CHOSE NOT TO MAKE
- Shower – The shower (and tub) are both almond colored, and we’d really love to replace them someday. We investigated replacing just the shower doors, but they’re an odd size. New doors would have cost almost as much as a new shower.
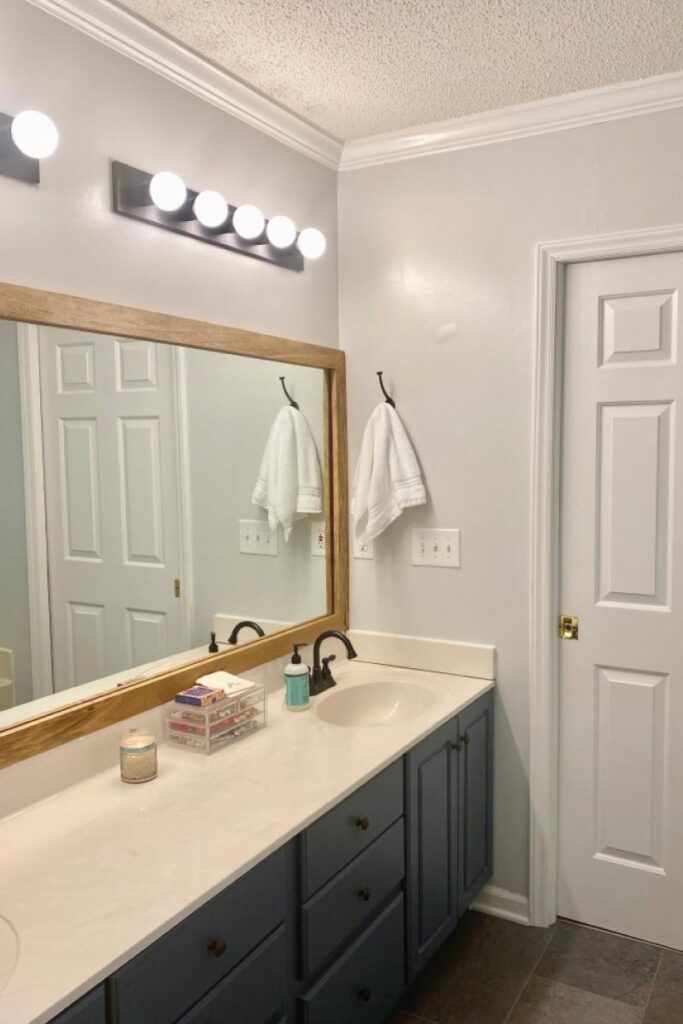
- Vanity – We kept the original vanity, but updated it by peeling the plastic coating off of the drawers, painting it, and installing new hardware.
- Lighting – Because of the way the lights above the vanity were sloppily installed, we couldn’t replace them with modern fixtures without major drywall work.
- Mirror – We learned from updating our upstairs bathroom that taking a glued sheet mirror off the wall will cause a lot damage. We didn’t want to destroy the wall, so we chose to keep the giant mirror as-is.
Part I
We started this project in December 2018, and wrapped it up a few weeks ago. When a project doesn’t affect your day-to-day living, it’s easy to let it drag on. We’ll try to avoid that in the future!
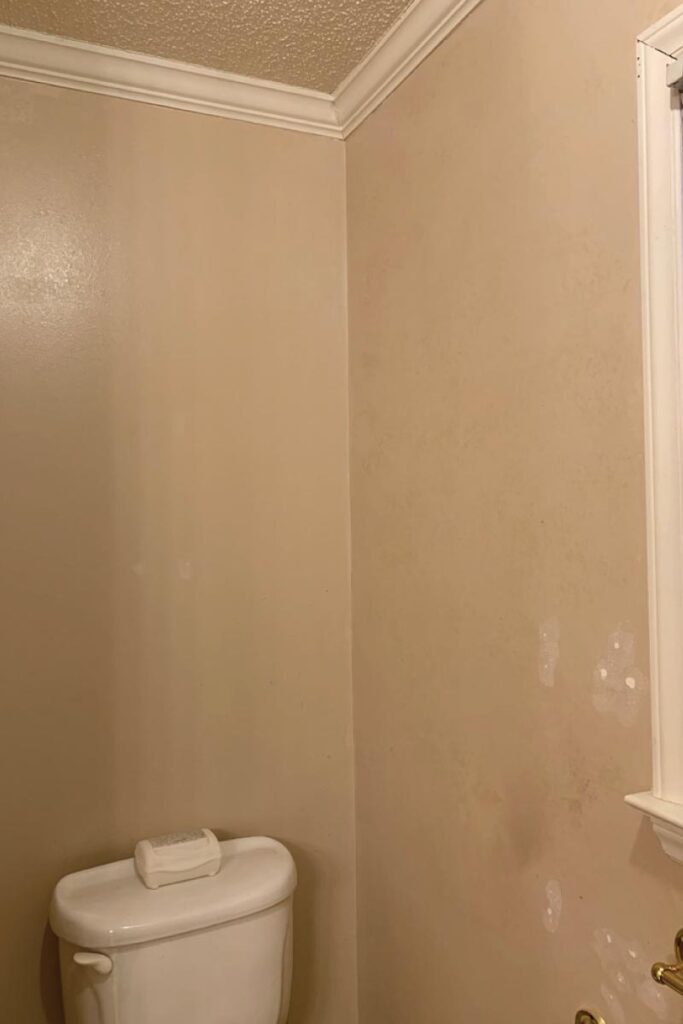
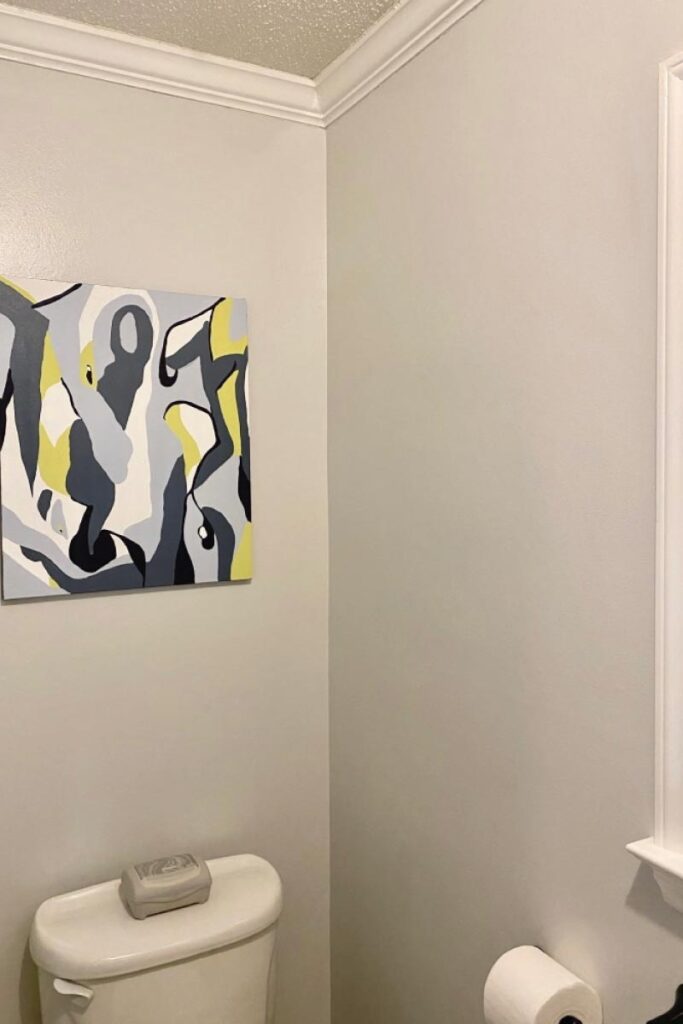
We started by deep cleaning everything; repairing damage to the walls; and painting the walls, trim, and linen closet. Brandon ripped out old caulk and replaced it. I peeled the plastic coatings from the vanity drawers and painted the entire vanity, inside and out. We chose bronze for fixtures and hardware to avoid clashing terribly with the gold shower doors. The vanity received new knobs and we added new a new toilet paper holder, towel bar, and hooks for our hand towels. Brandon spray painted the existing light fixtures. This is our favorite trick to update on a budget. If it’s a low-touch object, just spray paint it! Brandon took the linen closet doors off for me to paint them and add new hardware. At that point, we paused. For a year!
Part II
After using all of our spare pennies for travel during 2019 (no regrets!), we decided at the start of this year that we should focus on finishing this project. COVID-19 made it pretty simple to spend time at home working on wrapping things up.
We ordered new faucets for the sinks, and Brandon installed them. We ordered a new faucet kit for the tub, too, but ran into several issues with the existing faucet. The original handles had been installed backwards, so the new ones we bought didn’t fit. To correct it, we would have had to cut out part of the wall and change the plumbing. We ultimately kept the original faucet (and spray painted it bronze), then ordered two simple, round handles so that direction wouldn’t matter.
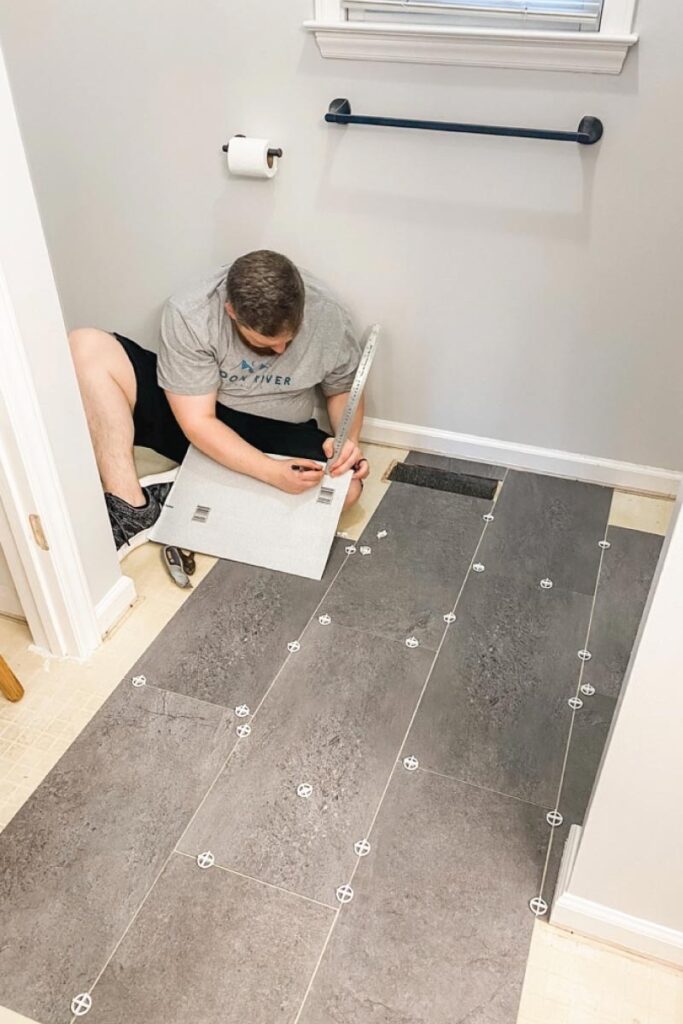
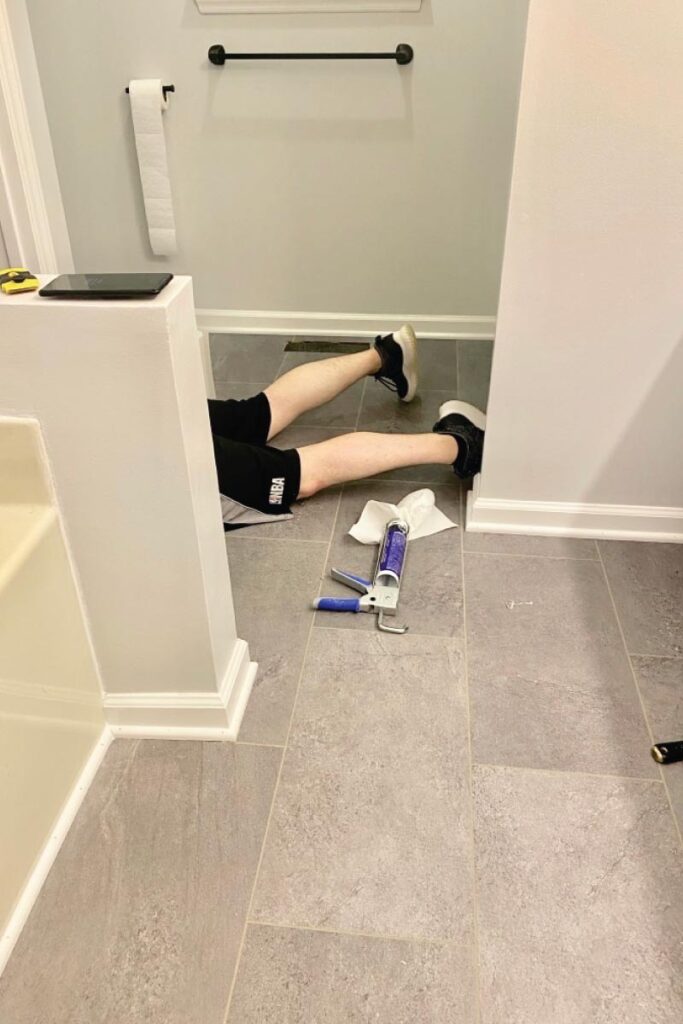
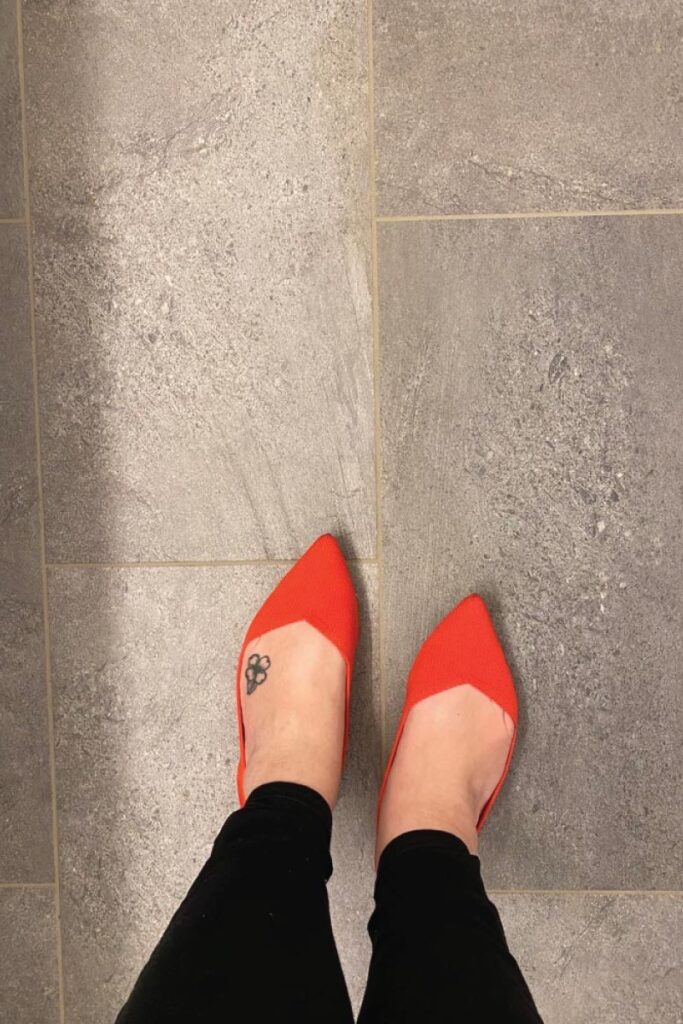
Vinyl tile worked beautifully in our upstairs bathroom, so we wanted to use it here as well. It is affordable, relatively easy to install, and holds up well over time (as far as we have observed). We loved the gray tile we used before, but it’s now out of production. I spent hours researching a similar product in 2019, and I couldn’t find anything. At the beginning of this year, out of the blue, a similar tile was on the market again. We snatched up a few boxes, along with grout, and Brandon took two days off work to do the floor over a long weekend. I cannot stress enough that I was 0 help when it came to installing the tile. Brandon deserves so much credit for how well it turned out. He did it completely alone, and it’s the very best part of this project.
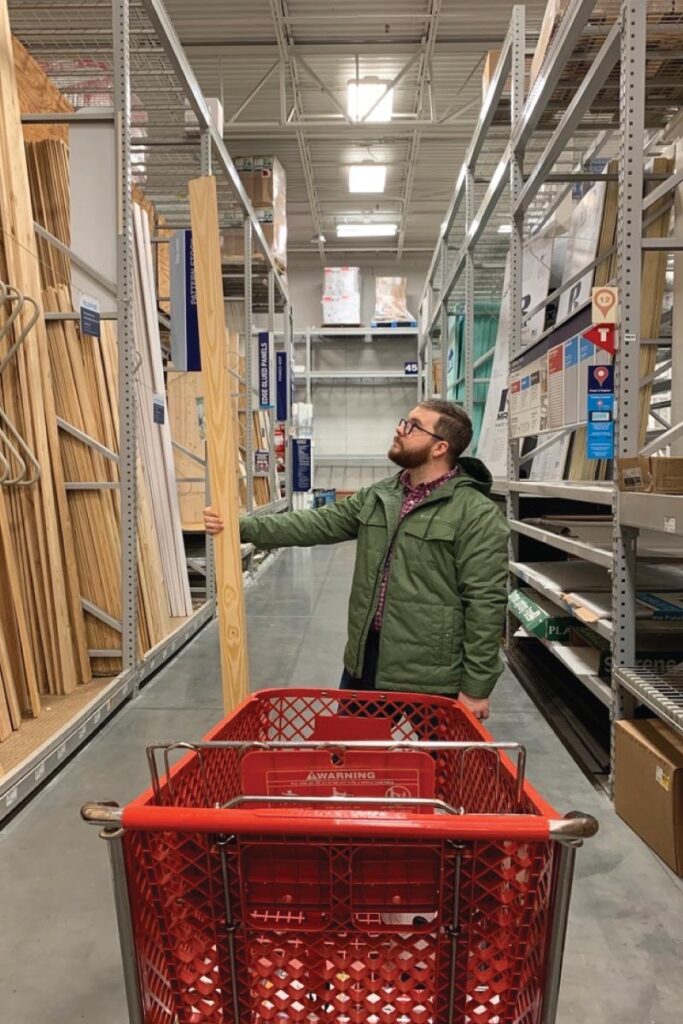
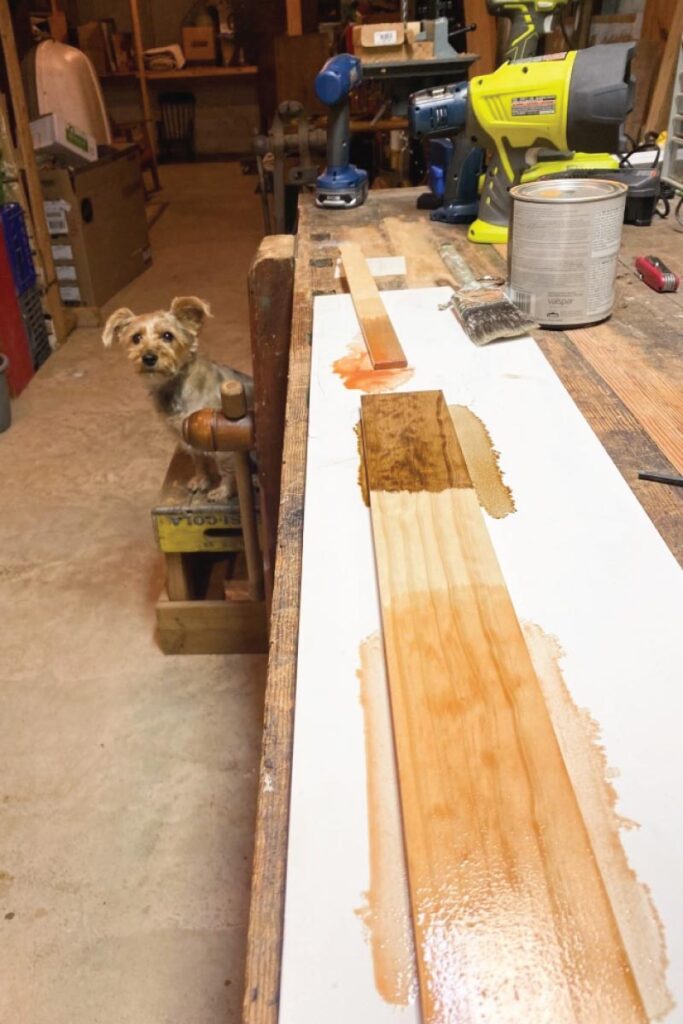
The last item on our (long) list was to build out a frame for the mirror, since we weren’t taking it down. We chose poplar boards, Brandon cut them, and I stained them before he assembled and installed the frame. It makes a huge difference in not only the look, but the feel of the room.
Lessons we learned
I learned that I can be discerning when planning the scope of our projects. We knew we couldn’t change some of the bigger things in the bathroom, but I determined what to keep and what to change—and I think it all works together pretty well! All in, this project cost around $600, and I think we were able to accomplish a lot.
For Brandon, this project demonstrated just how much he’s capable of. Our home projects aren’t going to be perfect, and he’s very critical of his own work, but he did an amazing job with the knowledge he had (thanks, YouTube videos and DIY bloggers!) and resources at our disposal.
In closing, I also want to note that we are endlessly (ENDLESSLY) grateful to be able to use my dad’s extensive tool collection that is still in our basement. With very few exceptions, Brandon can find any tool we need for any project. And it has saved us hundreds of dollars. For example, for this project we found a tub drain remover, a pocket hole jig, and at least 5 different wood stains to test for the mirror frame. We also found a brand new wax ring for a toilet… after we had already bought one. ? Thanks, Dad.
Now that we are finished with our master bathroom upgrade, we’re already on to the next major project… more on that soon!

